
A Guide on Migrating from Flothemes to Kadence
This past September, Flothemes dropped a bomb on their 40,000 customers. They announced that their parent company Pixieset shut down new theme sales, would be ending further development, and would be ending support of the product in 12 months.

For most WordPress themes, this would not have been a massive inconvenience. Users would have some time to go shopping for a new theme to install and activate. Unfortunately, Flothemes was much more than a simple theme. They’d built their own page builder tool called Flex Editor, and then integrated it into their themes and blocks.
This drag-and-drop capability was unique in the WordPress world and filled a common request from photographers looking to DIY their website design. The downside, is that you have no real way to export your content from their tool to another platform or core WordPress block. You’re stuck.
Where to next?
If you’ve followed me for any amount of time, you’ll probably know that I’m pro WordPress. Now is the time to make that decision, are you sticking with WordPress? Should you export to another platform?
If you look at the main issue with this Flothemes situation, it comes down to not having control over your content. Content inside flex or their older builder was not portable, you were locked into Flothemes as a vendor for the life of that content.
These are the main reasons that I’m hesitant to support other closed platforms like Showit and to some extent Squarespace. The roadblocks they have in place to keep people from easily migrating their content make them a non-starter for me.
Kadence
I’m a huge fan of Kadence theme. Corey and myself have built sites on their free theme for a handful of years now. Their free block plugin is a great extension of the core blocks and degrades gracefully if you deactivate it in the future. You don’t lose your content, just any additional features the block may have added.
Kadence is also great for both performance and ease of implementing general SEO strategies. My wife and I own Sightsee Design and have a handful of Kadence based themes for photographers.
We also have a migration package to move photographers from Flothemes (or similar platforms) to Kadence.
Migrate from Flothemes to Kadence yourself?
You have almost a year to make this migration happen. For most photographers, this move is totally manageable. You don’t need to have a background in technology or web design to pull it off. If you get stuck, you can always ask questions in our free Facebook Group.
Preparation
- You’ll need to backup your website. This is a key step, don’t skip it. If you mess anything up during the process, you’ll want to be able to revert to a backup.
- Document your current website structure and content. I like to make a map of my most important pages. I also like to export my Google Search Console performance report for the past 90 days. This tells me which pages are the most important for search engines. You can do the same with analytics to make sure you’re not missing out on other referral traffic like Pinterest.
- If you’re not already on Cloudways hosting Cloudways hosting, now is the time to sign up. The performance, technical support, features, and price are all in a different league from the other major hosting companies. (I recommend the 1gb standard server for most photographers, it should be ~$11/mo)
Auditing Your New Site Needs
- Now is a great time to look at every plugin you used on your live site, can you get rid of it?
- It’s also a great time to look at your existing content, how is it performing? Can you delete? Improve? Merge?
Set Up a Staging Environment
- You’ll want to have a place to work on your site that is separate from your live site. Most WordPress hosts call this a staging server or staging environment. I don’t recommend using a plugin for this. Your host should have a system in place, Cloudways offers this for free on all of their plans.
Migrate Existing or Start on New WordPress Install?
- You’ll need to decide between starting with a new WordPress installation or simply copying your existing site. I typically prefer to use a new clean WordPress installation for most sites, and then import my content and media from the old site using WordPress’ built in import/export tool. More complex sites might run into issues and are better off copying the entire site to Staging.
- If you do the Import/Export, there are a few plugins that might be helpful. One is Export Media with Selected Content, this allows you to export your posts with featured images intact. Another is Cache Images, if you have images that are hosted on a different domain it will save them to your media library and swap the image URLS automatically. If you’re working on a complex site, WP All Import will likely be able to save the day.
Installing Kadence Theme and Blocks
- Install Kadence theme. If you’re using one of our Child themes, installing that will automatically install Kadence theme and blocks.
- Use Kadence Starter Templates. If you’ve purchased one of our themes, install Kadence starter templates and then click on our logo. This will install all of your demo content. It won’t erase any of your existing content on your site. If you’re not using our theme, you can browse their library of free starter sites.

Basic Design and Layout Adjustments
- You can use the Customizer (Appearance -> Customize) to change the basic settings of your theme. This includes setting your main color palette, uploading your logo, and setting your fonts.
- You can go through the Customizer settings for Kadence and change all of their defaults to match your aesthetic.
- Setup your Header Menu. You’ll need to first create a menu with the links you’d like to include. You can then assign it a position. Finally, you can use the header builder (Appearance -> Customize -> Header) to setup your site’s header menu. Kadence gives you the ability to use a normal, sticky, or transparent menu. You can set specific pages/posts to use one of those in their respective page/post settings.
- Setup your Footer. Use the footer builder to build your footer. Kadence uses widgets, where you can build each section out using the block editor.

Rebuild Main Page Content
- I like to open my live site on one monitor and my staging site on a monitor next to it. Then you simply go section to section, recreating the Flothemes content in Kadence Blocks.
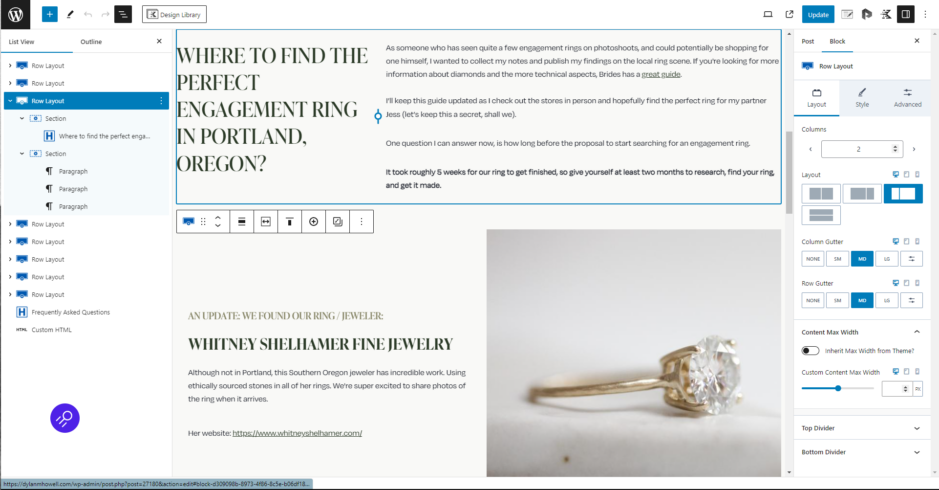
- I typically use a Row Layout block for each section, then decide how many columns it needs to have. It’s less drag and drop than Flex, but the grid based system is more expected on the web.
Don’t Forget Mobile
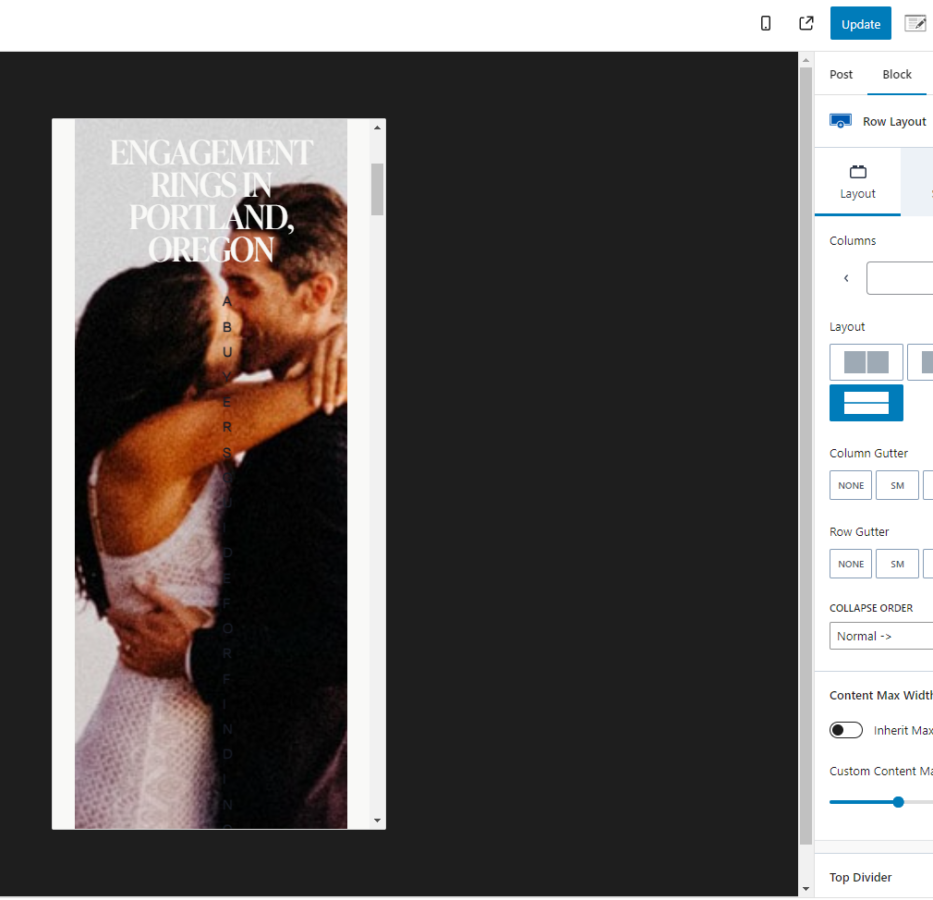
- Kadence makes designing responsively quite simple, but I like to make a few settings default before I start. In the Row Layout block, adjust the mobile width to default to ~90% of your viewport width. This will keep your content more or less full screen on mobile.
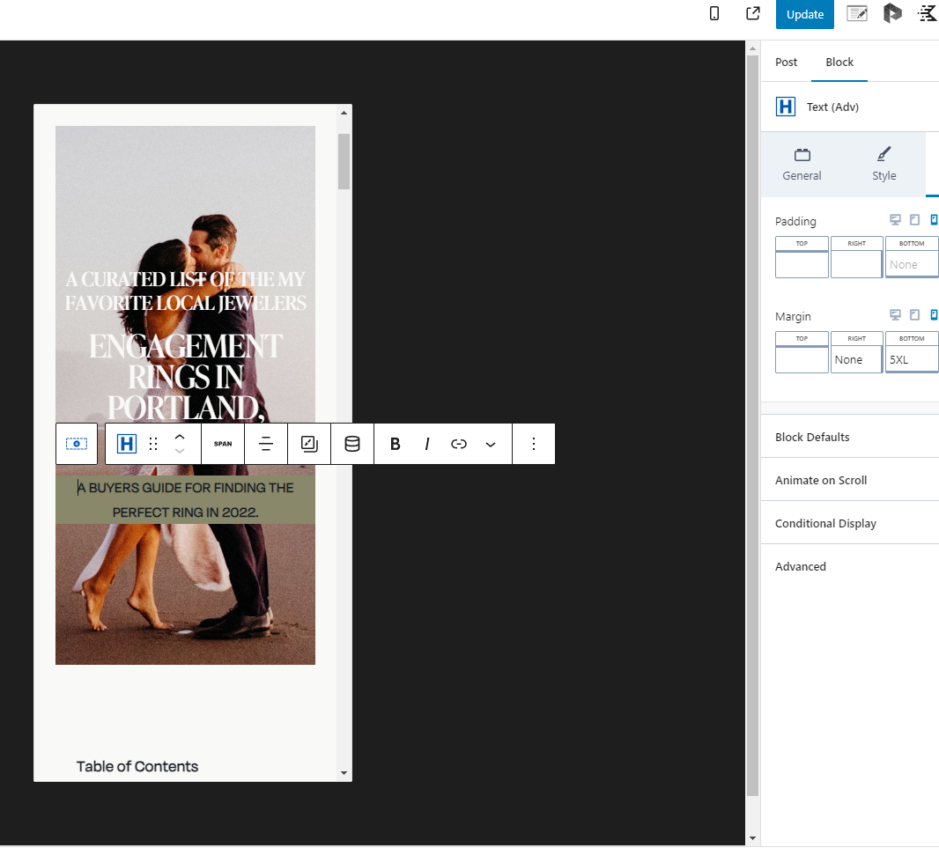
- Watch for excessive padding/margin on mobile. You might see a text block going down your screen with one letter width, this is typically from having the desktop margin/padding copied over to mobile, just zero it out or adjust to taste.
Don’t Forget Your Contact Form(s)
- Make sure to check your contact form settings for after the message actions. You should have it email you (give it an email) and redirect the user to a thank-you page. You can also save all entries to your database if you have Kadence Pro.
- If you’re on Cloudways, you’ll need to use SMTP. I use their Elastic Email add-on, it’s $0.10/mo. I then use the plugin Fluent SMTP to ensure my contact forms are delivered properly. This plugin logs all submissions and lets you know if you have a failure.
Testing Before Launch
- I like to use more professional tools like Screaming Frog or Sitebulb to crawl my staging site before going live. This will tell me if I have any broken links, unwanted redirects, broken images, etc.
- Check to make sure that your SEO settings are still there. You don’t want to change your page titles or other important meta tags unintentionally.
- Send your staging site to friends. Let people use your new site on different devices and desktop screen resolutions. It’s a great way to see if any tweaks are needed to your design.

Taking the New site Live
- If you’re on a Cloudways temporary domain, you just need to use their domain management tool to update your domain name. You then need to make a DNS record that points your domain to their server. Full instructions.
- If you’re on a different host, check with their technical support for assistance.
- Don’t forget to keep your domain prefix consistent to your previous site, https:// vs https://www.
Test the Live Site
- I do another round of testing on the live site, using a crawler tool like Screaming Frog or Sitebulb. Looking for any broken links, redirects, page title issues, etc.
- Now is a great time to do any performance tweaking on the live server. My plugins of choice are Perfmatters, WP Rocket, and Shortpixel.
- Check your Facebook Share snippet with their debugging tool.
- Make sure that your Google Tag Manager, Google Analytics, Facebook Pixel, or other tracking snippets are still tracking.
Give it some time
- I don’t typically expect major changes in rankings overnight after doing a migration like this, if the majority of the content is staying unchanged overall. I will check in with the site after 2-4 weeks and by then start to see favorable improvements. The Search Console Performance Report is your friend here.
Did that Sound Overwhelming?
We can recreate your existing site using Kadence or migrate you to one of our new themes at Sightsee. Just reach out if you have any questions.


![Google Updates Image Search [October 2018]](https://dylanmhowell.com/wp-content/uploads/2018/10/google-image-search-seo-photographers-1600x713.png)